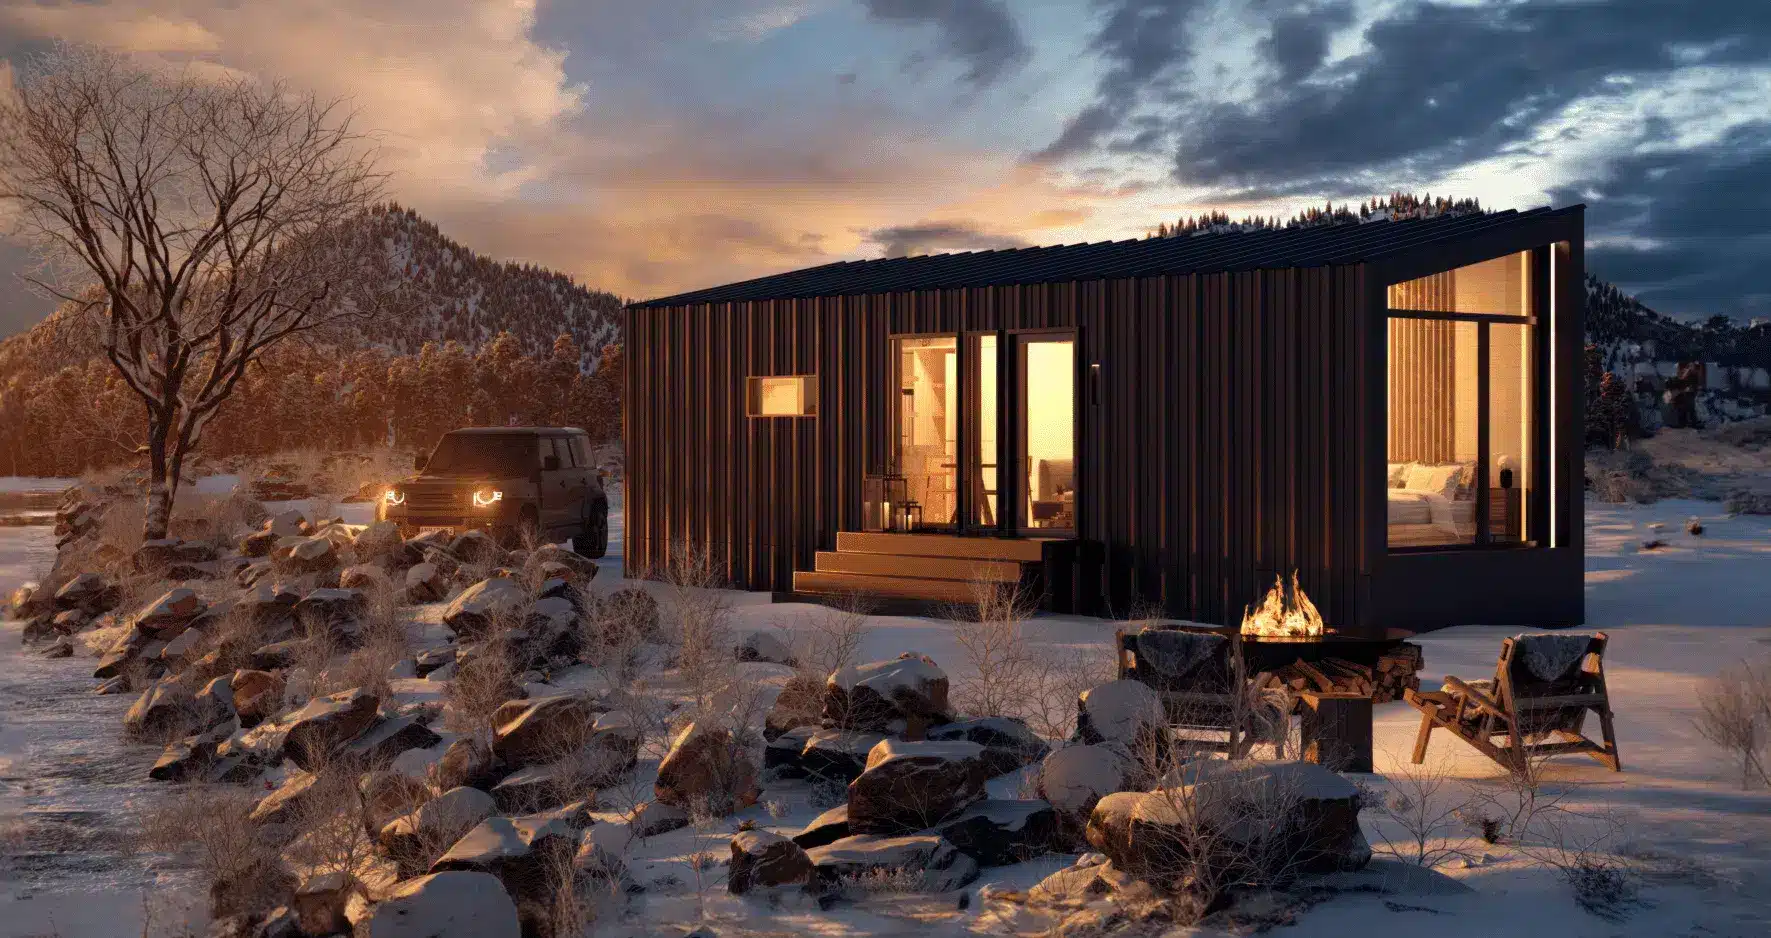
DWELL BEYOND THE ORDINARY
Check out our Official Park Model Setup Video Guide
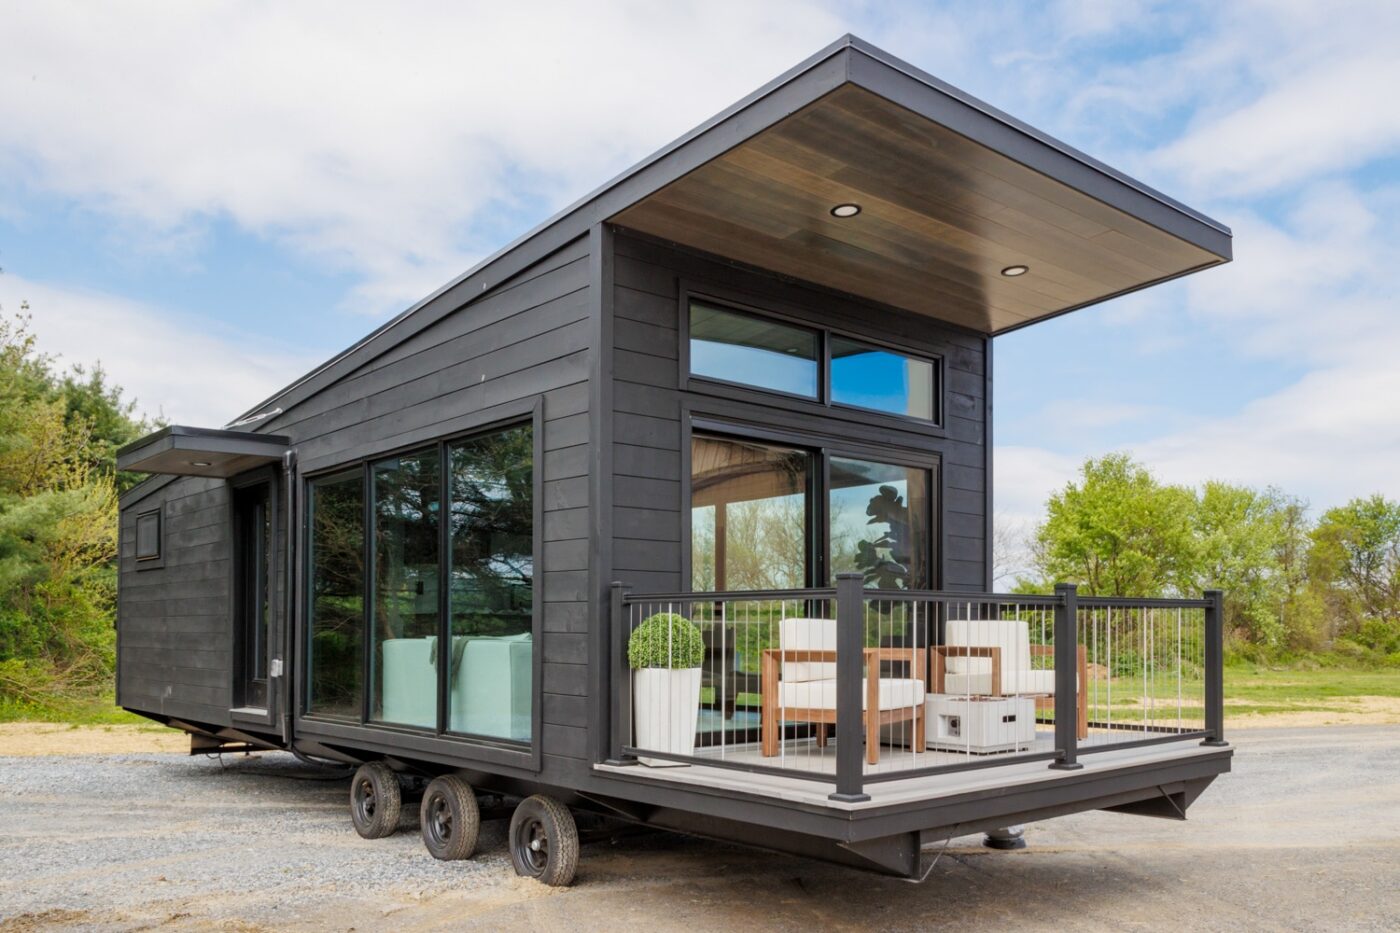
Jump ahead to your section:
Check out our complete Guide for more information on setting up your new Park Model Home.
Choosing the Site
Building and Zoning restrictions
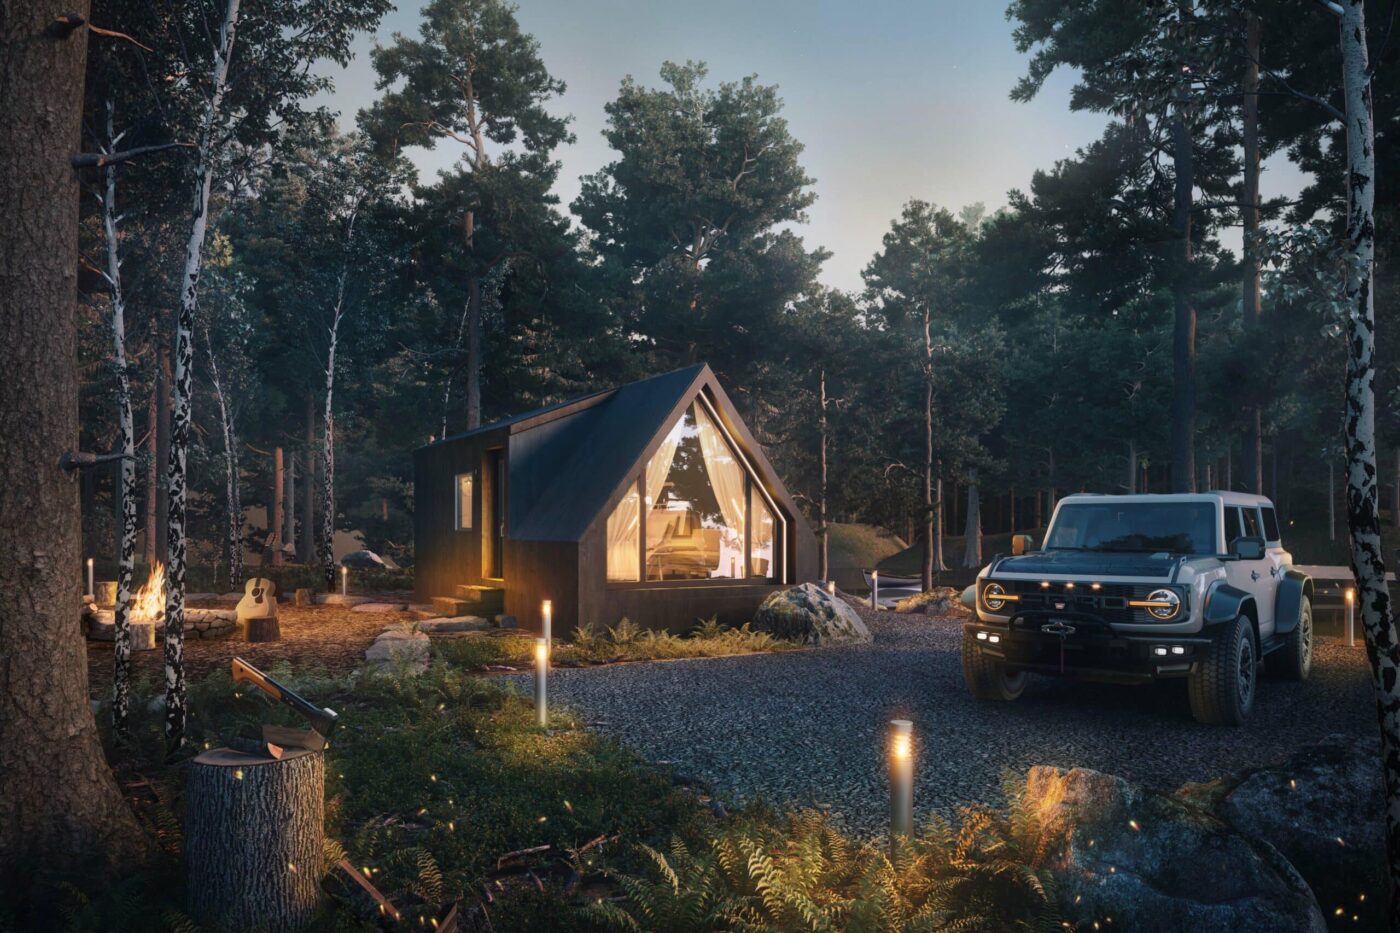
Some locations have regulations on what is installed, size, and use. Make sure you check out your local building codes to make sure you are choosing an appropriate and legal site. Sometimes there are also requirements on what kind of foundation you use. For example, some places require a pad of some sort rather than just blocks or a combination of the two. Take a look at what the tiny home regulations are for your state.
Utility and hook-ups
Assuming you want water, electrical, and sewer lines running to your park model home, you will need to keep this in mind when choosing a site. Think about how you will install the plumbing lines, how far it is from electrical and water sources, and what obstacles are in the way.
Site Terrain
When it comes to prepping the site for your park model there are 5 items to keep in mind! The ground you choose to install your Park Model on should be:
- Level.
- Undisturbed
- Accessible
- Drainage
- Appearance and Astethic Desires
Level: Choose as level a location as possible. The more slopped the ground, the more difficult it will be to install a lasting and solid foundation, and the more liable your Park Model will be to settling over time, possibly causing damage to the Park Model structure.
Undisturbed: The ground should be as firm as possible that you will be building the foundation on. If recently excavated, wait for a while to install the foundation, or choose another location.
Accessible: Make sure the area is accessible for our delivery equipment. If we have to rent other machinery to deliver to small spaces, you will be charged for the rental fee. Clear any obstructions in the way to the site. There should be a clear, level, solid path leading to the chosen site.
Drainage: Be mindful of the surrounding ground and where water will flow. Bad drainage to the area could result in settling, water damage, and unbalanced moisture levels.
Appearance and Aesthetic Desires: While there are many logistics to choosing the location, think about what kind of feel you want to surround your Park Model with. Observe what kind of sun exposure the location has. Pick an area that will help create the haven you most desire.
Permitting and Licensing
It is illegal to simply buy a Park Model Home, park it somewhere and live in it. It must be liscensed, and in some cases, the location must also be approved. Building/Zoning codes will often apply. It is the customer’s responsibility to permit/license their park model home and make sure that the site location they have chosen is compliant with zoning and RV regulations. Our park models are legally considered RVs and are all built to the ANSI A119.5 standards with an RVIA Seal.
Be sure to check with your local government fall all requirements they have surrounding Park Models and RVs. Location, hook-up/utility requirements often apply. There are often also restrictions on length/permanence of residency. The customer is responsible to gather this necessary information and comply.

Building the Foundation
Utility and Installation Hook-Ups
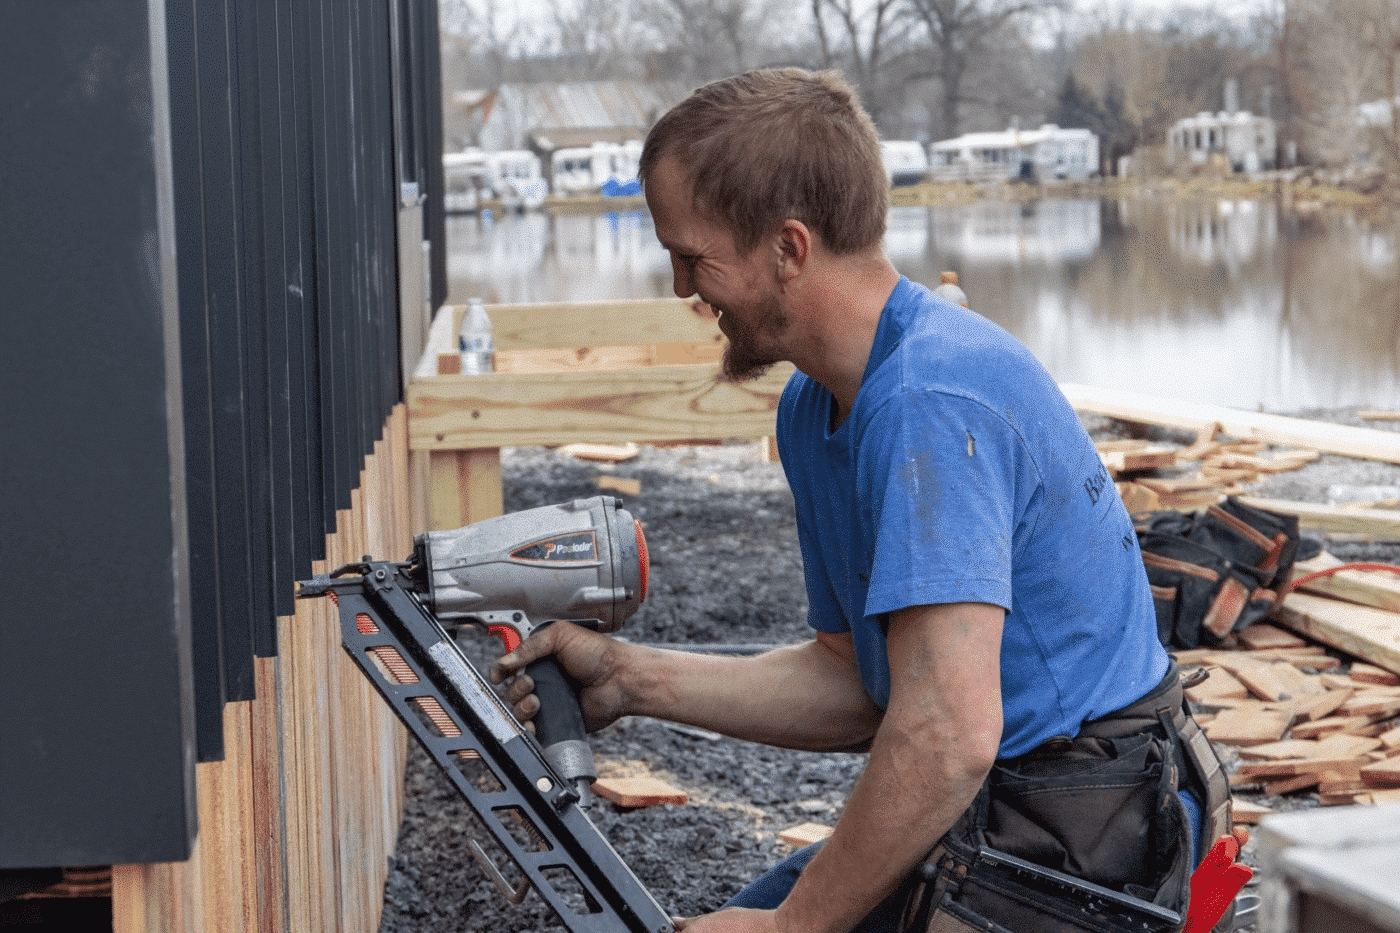
At this point, we do not offer services to hook up your Park Model to utilities or install the necessary lines. The water line hookup is a standard garden hose, and the sewer line is a standard 3-inch sewer line hookup. If you are looking to hide these lines underground as a more permanent solution, you will want to install them before/during your foundation preparation process. Otherwise, the utilities can be set up and connected after Park Model Delivery. If pipes have been stalled in the foundation preparation process, ensure all pipes are cut down and will not interfere with the building when it is being pulled or backed onto the prepared foundation during delivery. Remember the possibility of freezing during winter months and install accordingly. Freezing water lines can cause serious water damage to the Park Model in difficult-to-reach places. See the maintenance page for more info on winterizing your Park Model and water lines.
Types of Foundations
As a company, we require at least a stone foundation of 4-5 inches of crushed stone (minimum) or a concrete pad. According to legal specifications and requirements, the Park Model must remain attached to its wheels. It is recommended to block up Park Model with wooden or masonry blocks so it is not resting on the wheels, especially if you plan for the Park Model to be parked for an extended period of time. We do not recommend moving your park model more than you have to.
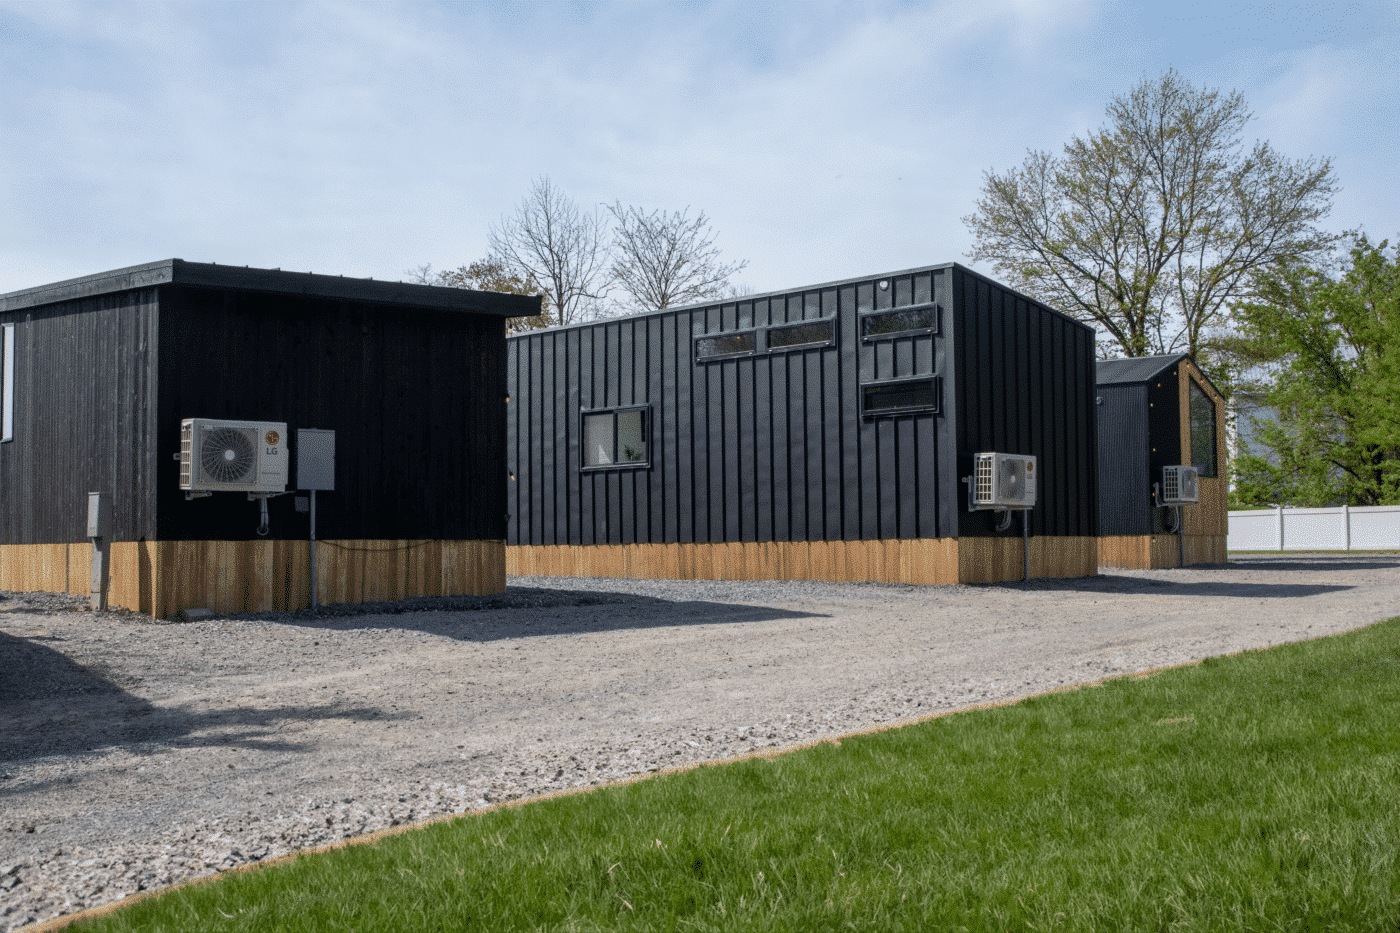
Preferred Foundation types
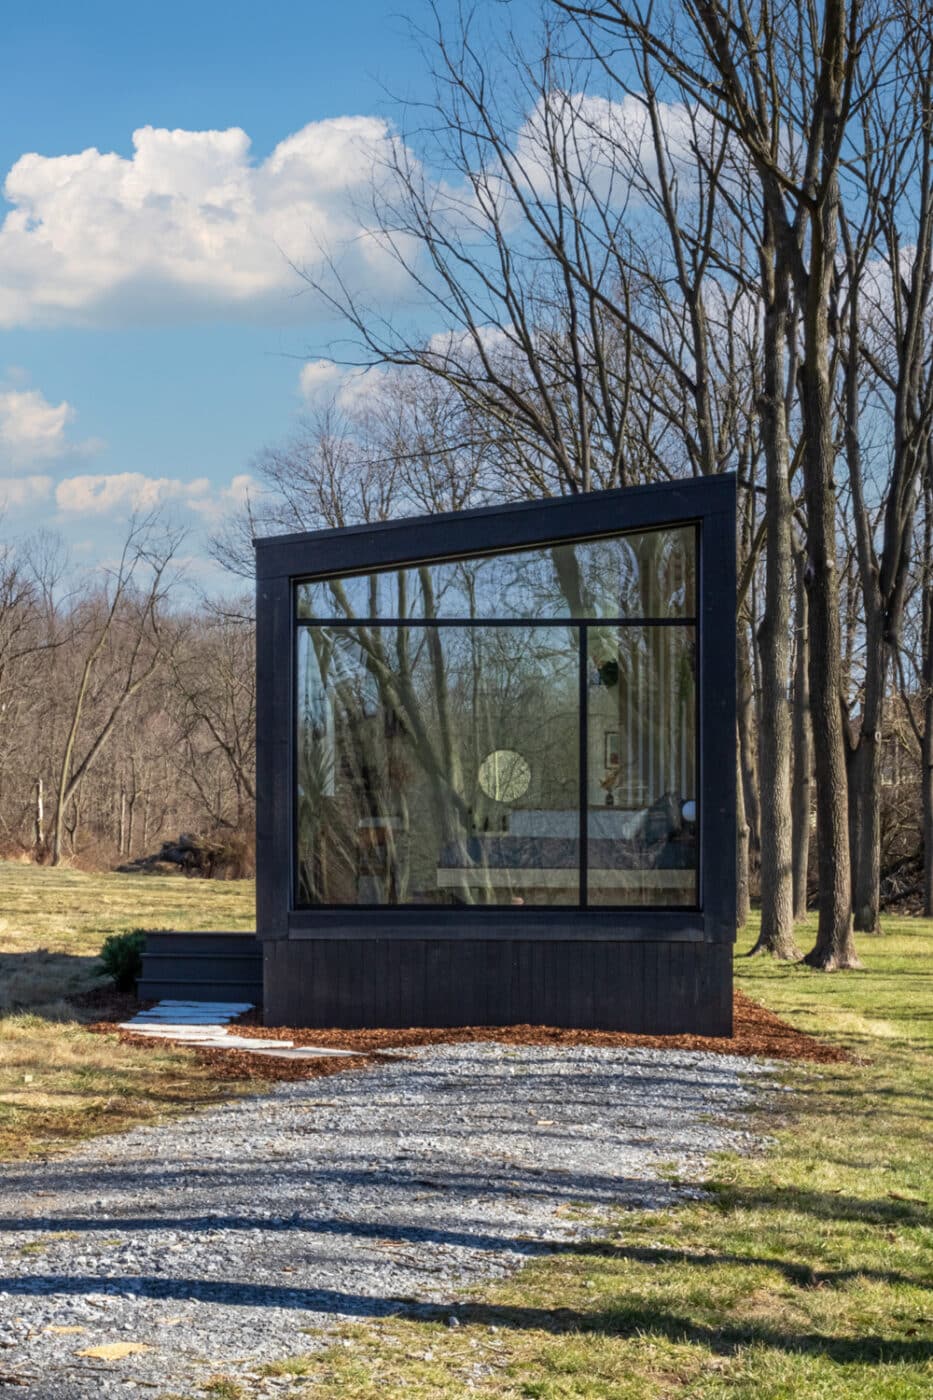
It is recommended (in some cases required by local code) to install a level pad, either gravel or concrete. Make this at least 4-6 inches thick so that it adequately supports the Park Model and resists settling.
Foundation types Not to use
You should not install foundations such as pier and beam, crawl space, or pit foundations. A pad and blocks ( to level the building) should be used. You should also not just park your Park Model on bare ground; this will void the manufacturer’s warranty.
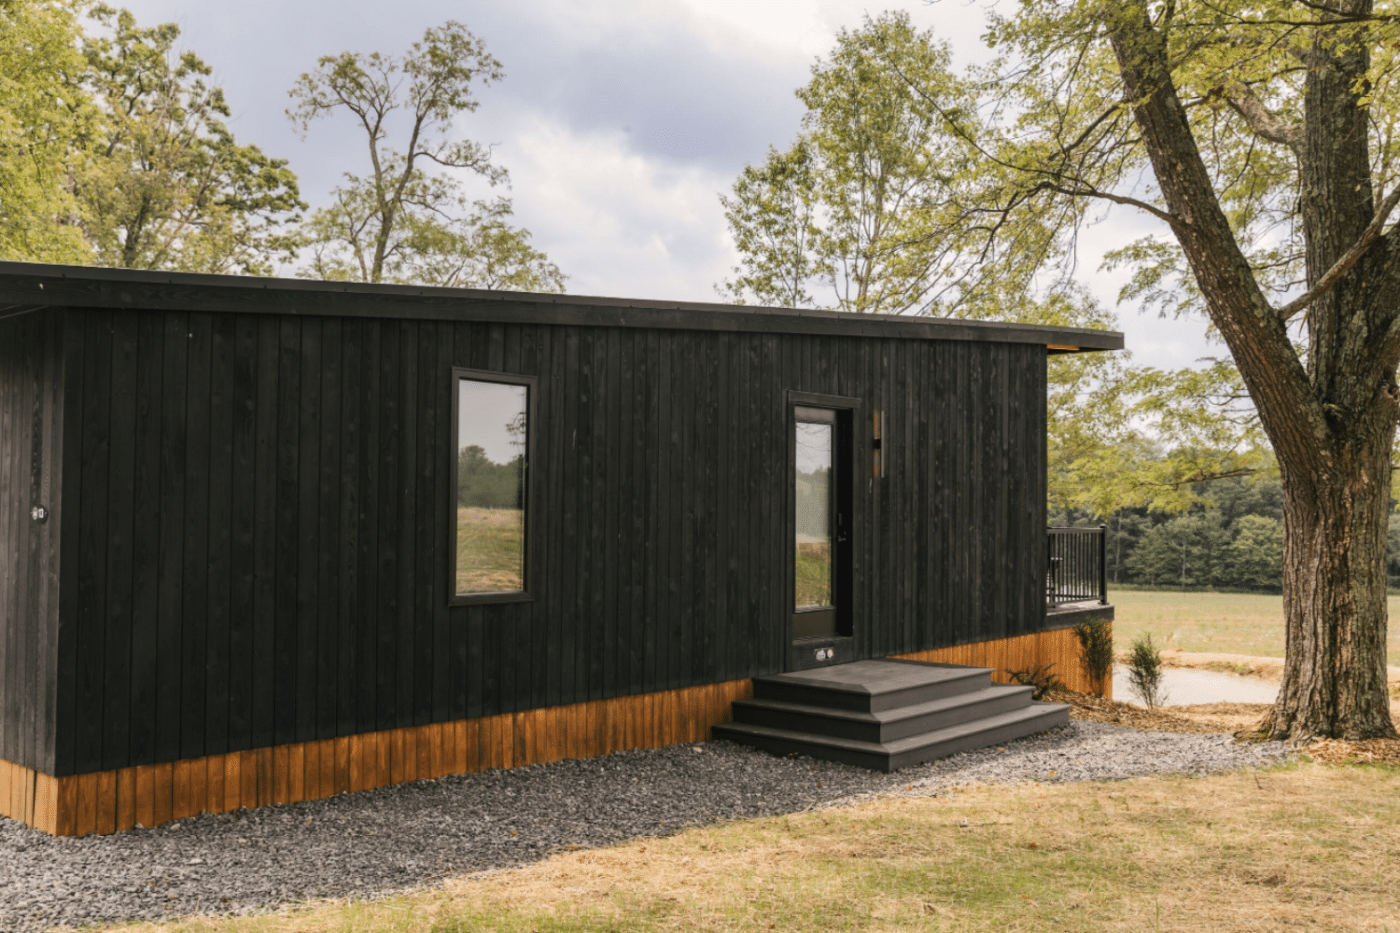
Gravel Shed Pad
It is possible to install a gravel shed pad yourself, though it will be much more time-efficient to get a contractor to install it for you. If you feel confident in doing it yourself, here’s check out the video below or read a brief overview of the steps that will be included (see more detailed instructions):
- Step 1: Gather the supplies: This includes shovel/excavator, tape measure, level, pressure-treated lumber (4×6), ½” rebar, long exterior screws, weed barrier cloth if desired, ¾” clean stone (or similar) enough for 4”-6”,
- Step 2: Mark the dimensions: You will want this to extend at least 1 sq. ft. past the edge of the Park Model. If you want to have more space for a firepit or seating area, we recommend including that space in the gravel foundation area.
- Step 3: Excavate and level: The gravel pad area will need to be at least 4-6 inches deep. Dig down far enough to be able to accommodate this depth. If installing a perimeter for the pad, some choose to let the pad remain a few inches above ground rather than completely level with the surrounding ground. Make sure the gravel pad is level. This will help retain the longevity of the Park Model and require less leveling of the building.
- Step 4: Build the perimeter: Install the perimeter and secure together/anchor with the rebar stakes and long screws. Installing a perimeter will help contain the gravel and stabilize the foundation as a whole. However, it is not always necessary.
- Step 5: Pack & level the interior: With a compactor, or other heavy equipment, pack the interior ground so that it is firm and level. If left not properly packed, the pad with shift and settle over time and become unlevel.
- Step 6: Add Fabric (if desired): Spread the fabric evenly over the ground and attach to the perimeter. This will help contain the gravel as well as keep weeds and pests away from the Park Model.
- Step 7: Add the stone: It is recommended to use ¾” clean stone to provide a solid foundation. Smaller will not provide proper drainage . Spread evenly across the pad site, retaining at least 4-6 “ across the entire base.
- Step 8: Tamp and Finish: Finally, tamp the gravel to make it as firm and compact as possible. This will help them resist settling. Clean up the site and remove obstructions in preparation for your Park Model delivery.
See Site Prep for a good example of a Gravel Pad Installation and a personal step-by-step guide. Browse their gravel site preparation services.
Concrete Shed Pad
If you are looking for a more long-term installation option, consider a concrete pad for your Park Model. Because it can be tricky to correctly construct a concrete pad that will be durable in correct relation to the size and needs of your Park Model plans, it is not generally recommended to pour your our concrete pad.
There are different types of concrete pads. Depending on your weight load, or surrounding ground type you may wnat to consider different types. Most likely for a Park Model you will want A floating concrete pad or a concrete foundation with a small footer/reinforcement.
Here are the basic steps of installing a concrete foundation. Learn more / watch concrete foundation installation.

Step 1
Gather supplies and place order for correct concrete mixture recommended for the desired strength.
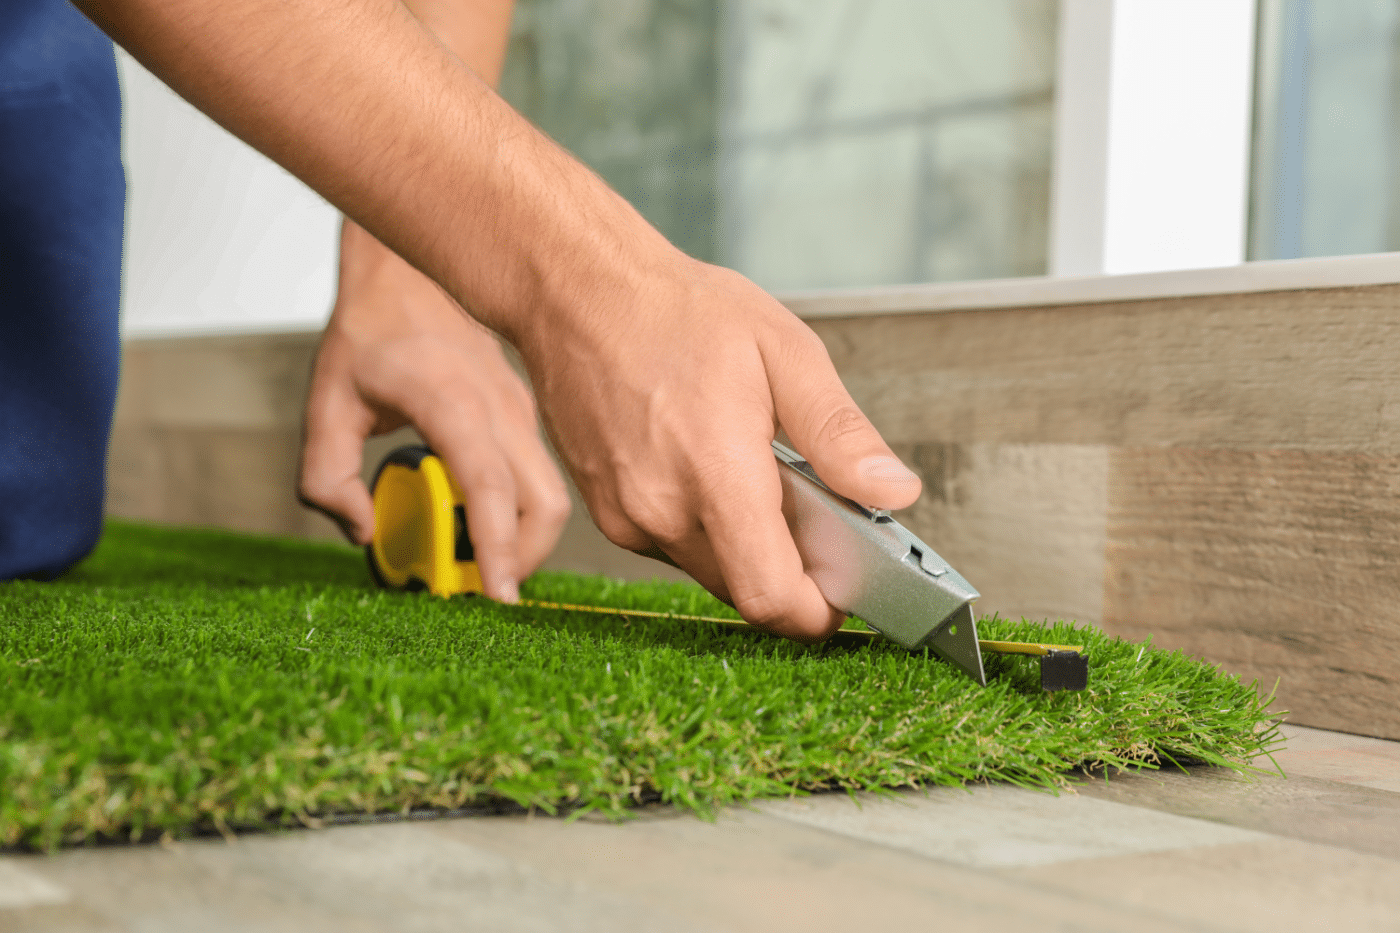
Step 2
Measure and mark the space for your concrete pad. Again, your may want to extend your concrete pad to include more area then just under your Park Model.
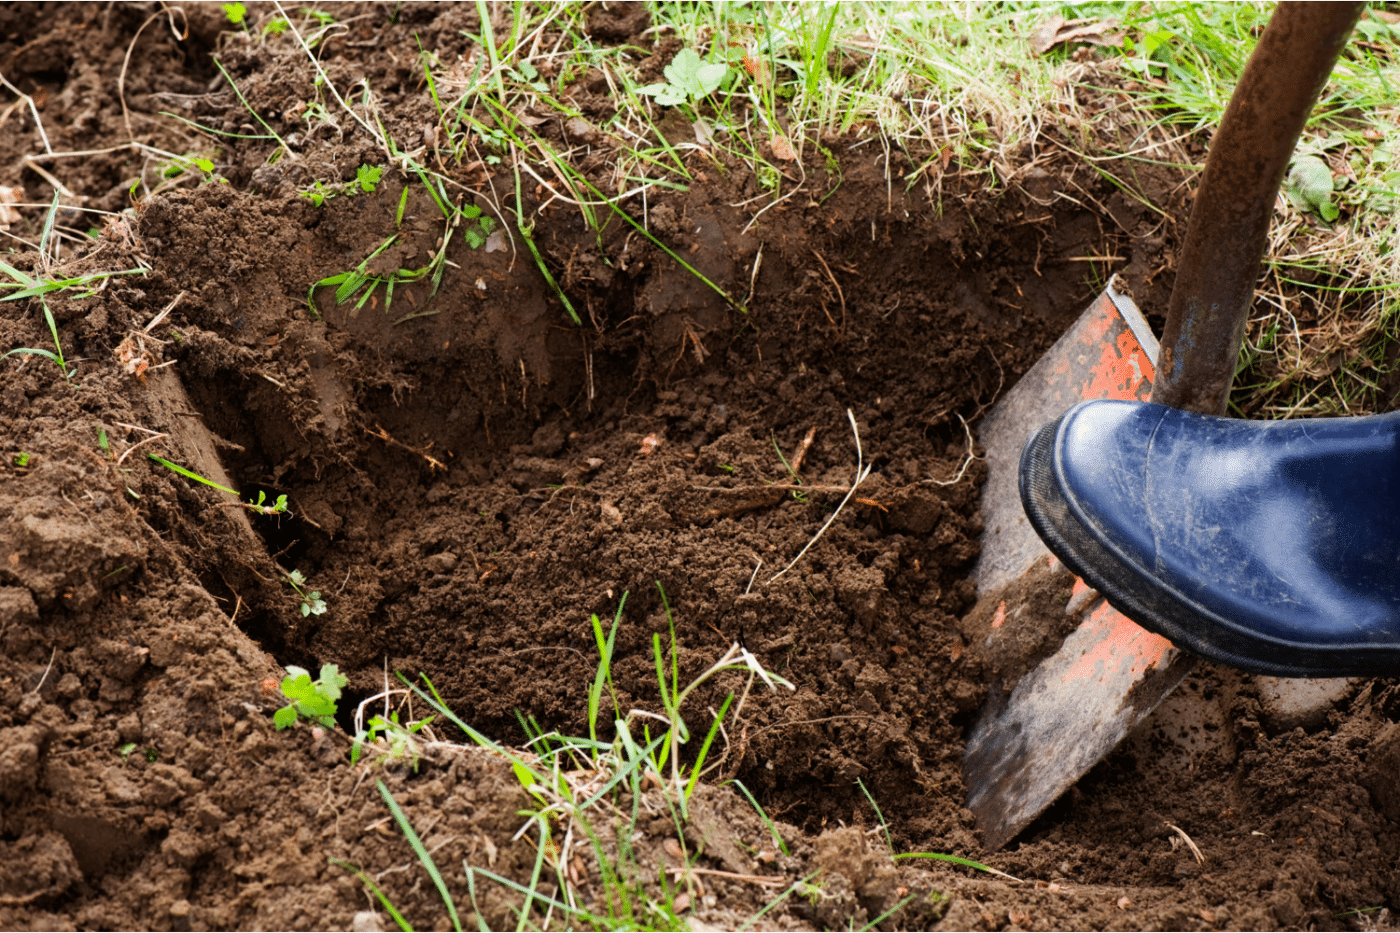
Step 3
Excavate the site. Plan for at least 4” of concrete on top of approximately 4-6 inches of gravel. Make sure the site solid and compact.
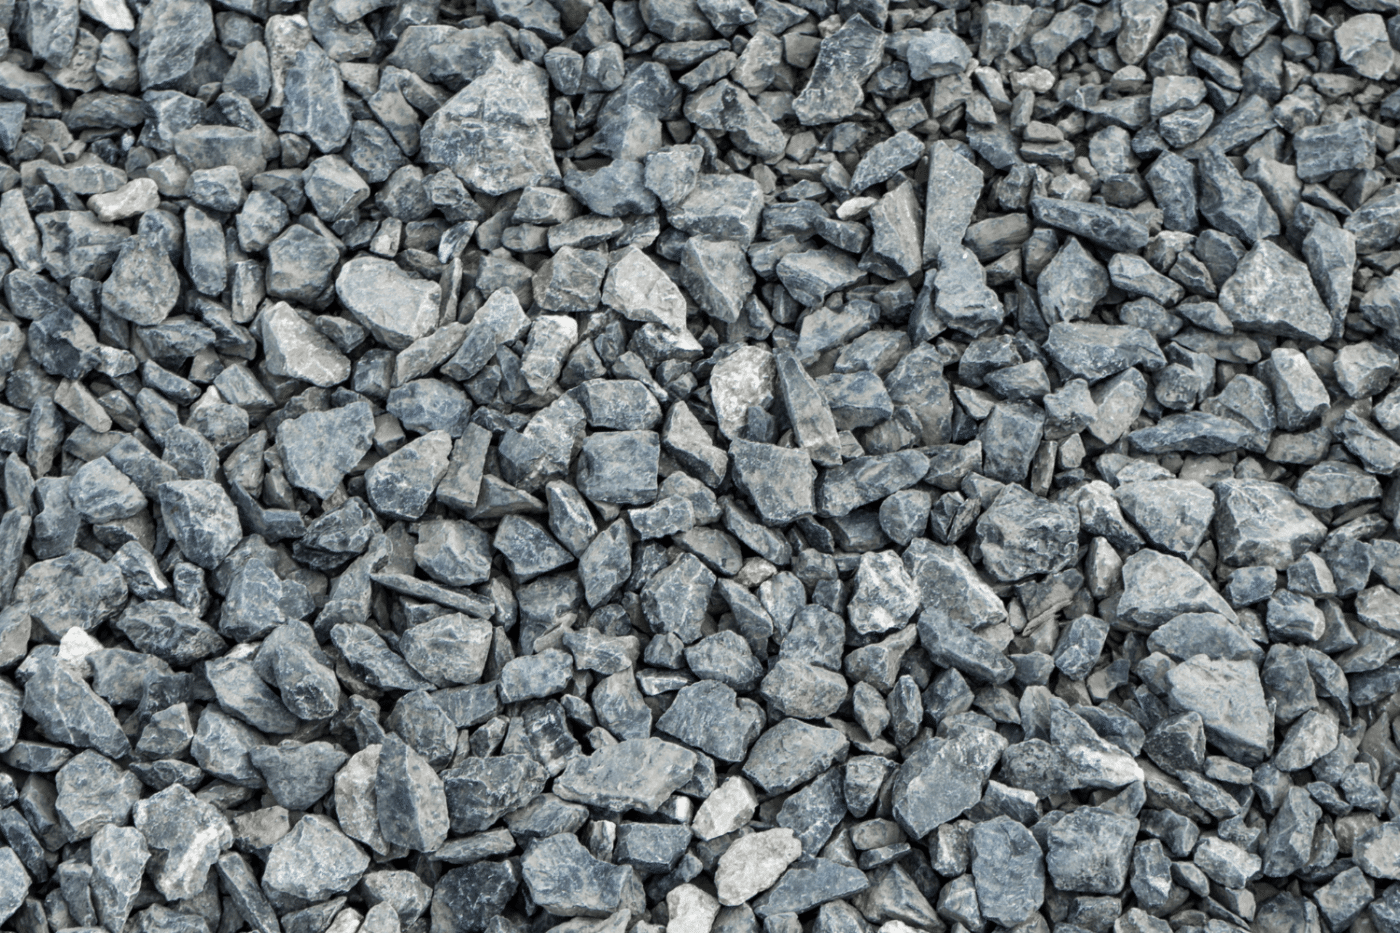
Step 4
Pour 4-6 inches of gravel in the main area of the concrete pad and compact it well.
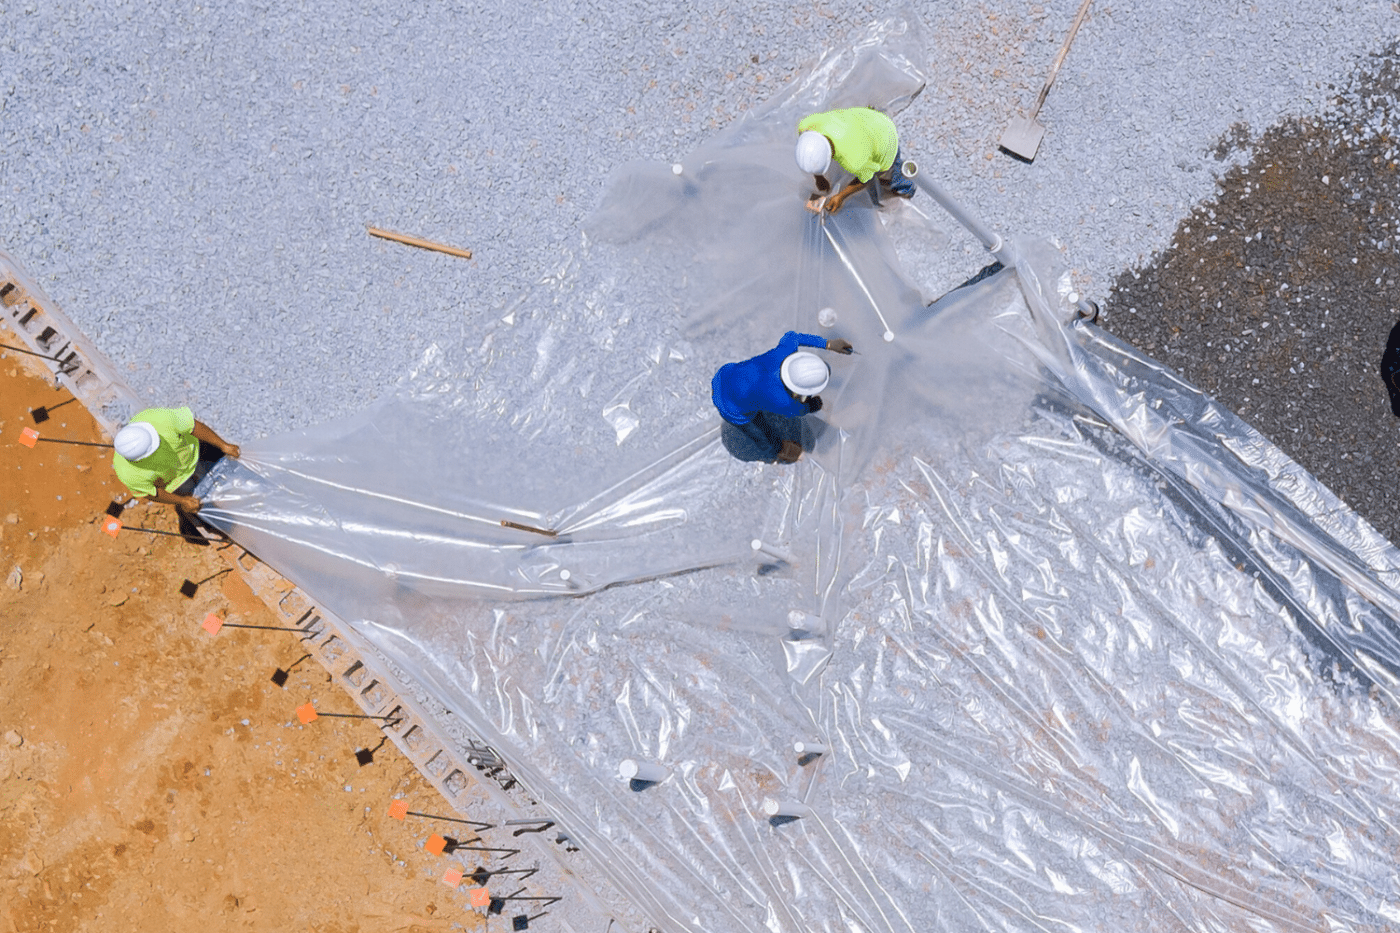
Step 5
Add moisture barrier and wire mesh reinforcement if desired. Lay this on top of the gravel before spreading your concrete.
Step 6
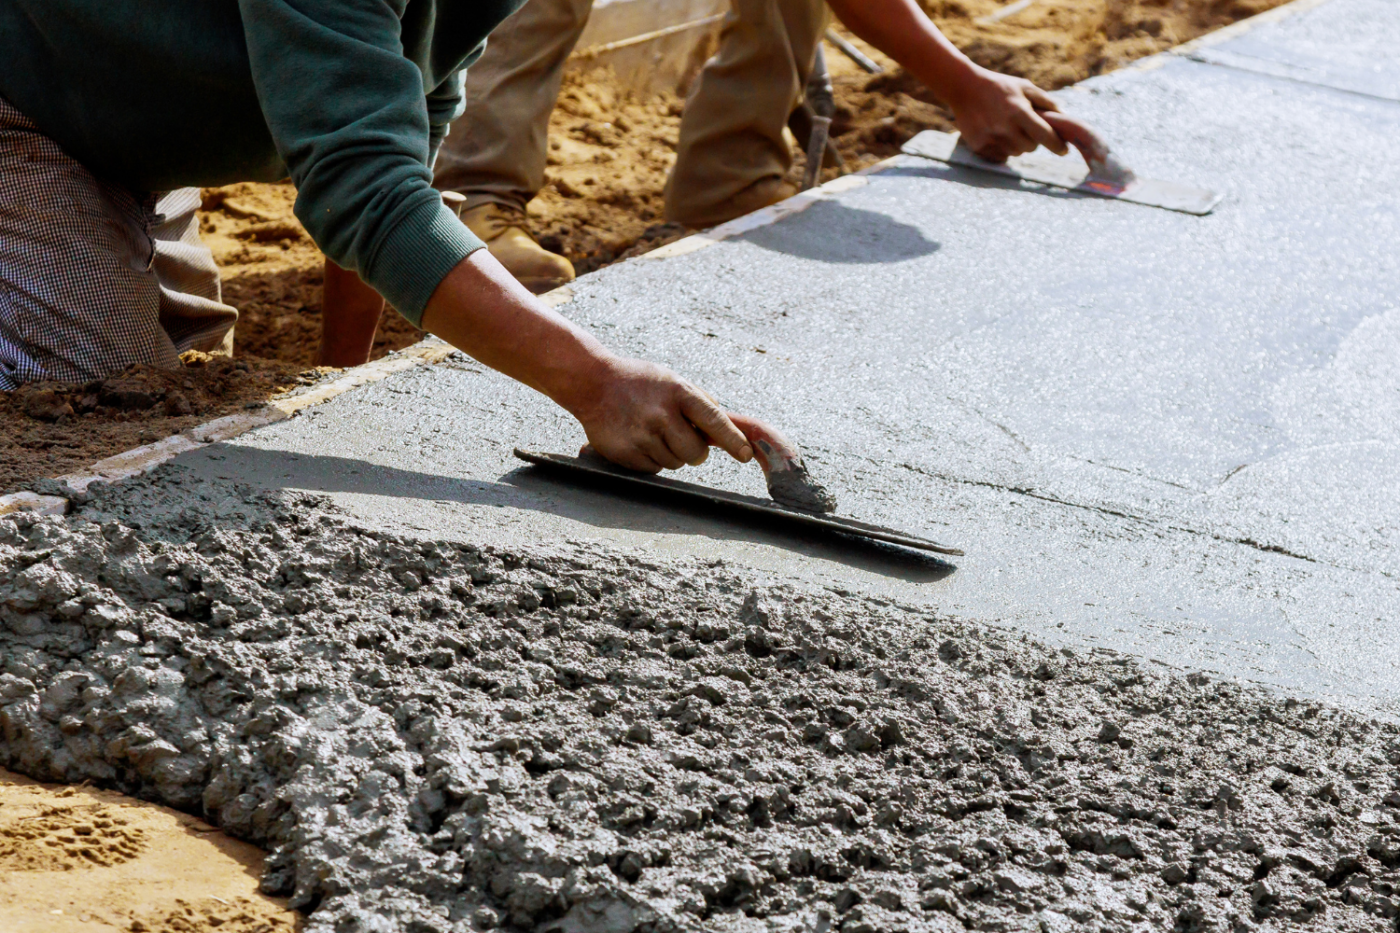
Spread your concrete, keeping the pad at least 4” thick. Remove the framework perimeter. Let set and cure for up to 4 weeks.
Step 7
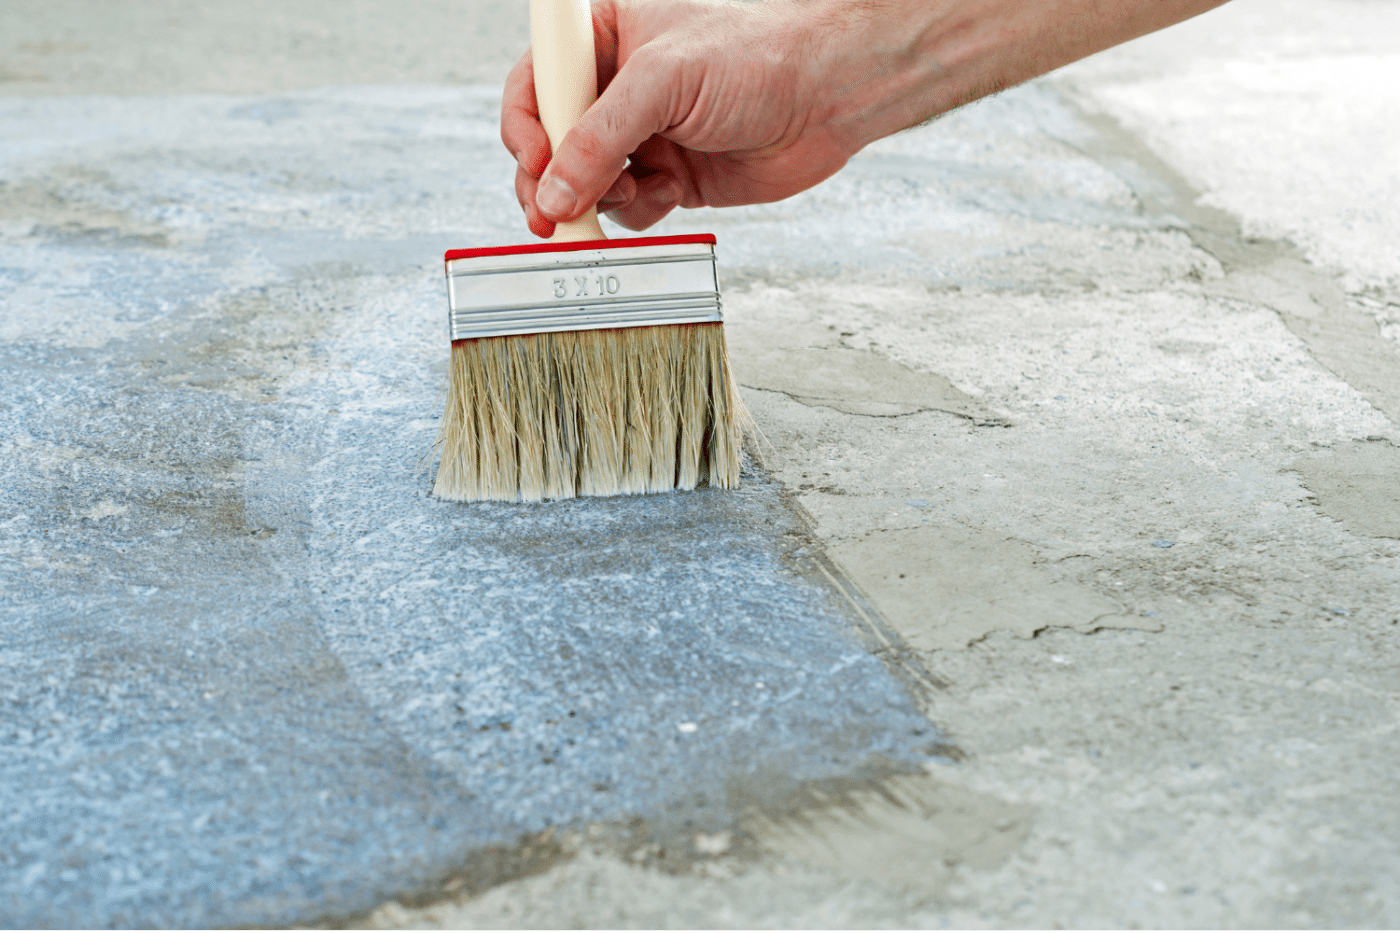
Finish it up. Seal the concrete if desired. And grade/clear the surrounding area in preparation for Park Model delivery.
Choose a contractor to install a concrete pad you can rest assured will last for many years. Browse Site Prep Concrete Pad examples and process.
Prepare Site For Delivery
Our delivery team should have a clear path to the foundation you have prepared. It is the customer’s responsibility to:
- Remove all obstacles, creating a clear path to the site.
- Make sure the ground is firm without major disturbances that could cause damage to the equipment or Park Model.
- Trimmed back all trees and tie up wires (if applicable).
- Provide at least 18 feet of width on a straight drive-through area.
- Clearly mark utility lines and hook-ups that could be a hindrance to delivery or be damaged in the process.
- Provide photos to your Zook Cabins contact to help them adequately prepare for delivery and to ensure that all requirements are met.
The customer is responsible for the breaking, cutting or damaging of any wires, cables, septic tanks, pipes, etc., in the course of delivery or setup of the building. The two most common site issues upon delivery are (1) low-hanging trees and (2) driveways that are not wide enough for the Park Model to be towed through. This can cause excessive damage to the cabin while the delivery is in process.

